
Connecting vRack to OVH Public Cloud Instance
Prerequisites
This guide assumes that you have already created a Public Cloud instance at OVH and have also ordered a vRack (giggity). The purpose of these notes are to explain how to first modify the vRack IP ranges, etc. using the OVH API and how to then attach the new private network interface to your existing instances.
Configure vRack VLANs
First, the OVH API is available here: https://ca.api.ovh.com/
To modify a vRack network in a public cloud instance, all changes should be made within the section
/cloud/project/{serviceName}/network/private
Once you get here, it is quite self-explanatory, first use the relevant GET calls to find out all the information you need such as serviceName and so on. I won’t go into great detail here because it really depends what you are trying to modify and common sense can get you through the general usage of the API.
Attaching LAN Interface to Instances
This is the tricky bit. You must create a new network interface on your VPS instance in order to connect it to the vRack network. OVH documentation shows that you can use their API to do this when creating a new instance, but a limitation of it is that you cannot attach a new private network to an existing VPS. In order to do this, you must connect to the OpenStack API.
Connect to OpenStack and Modify Network Interfaces
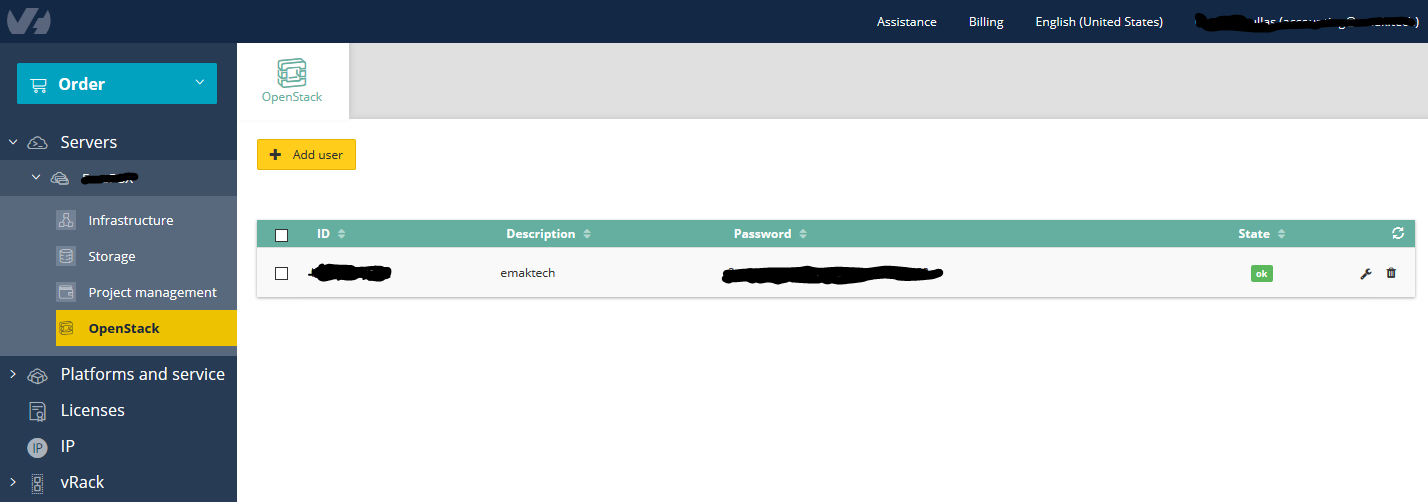
- Create a new OpenStack user in the OVH management portal (Click + Add User)
- Click on the wrench icon on the right and select Downloading an Openstack configuration file
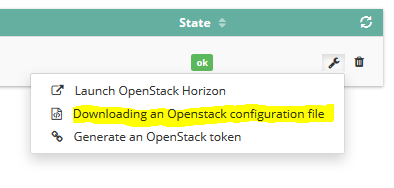
- Choose the datacenter region you are working in and select Confirm
- This will download a file called openrc.sh
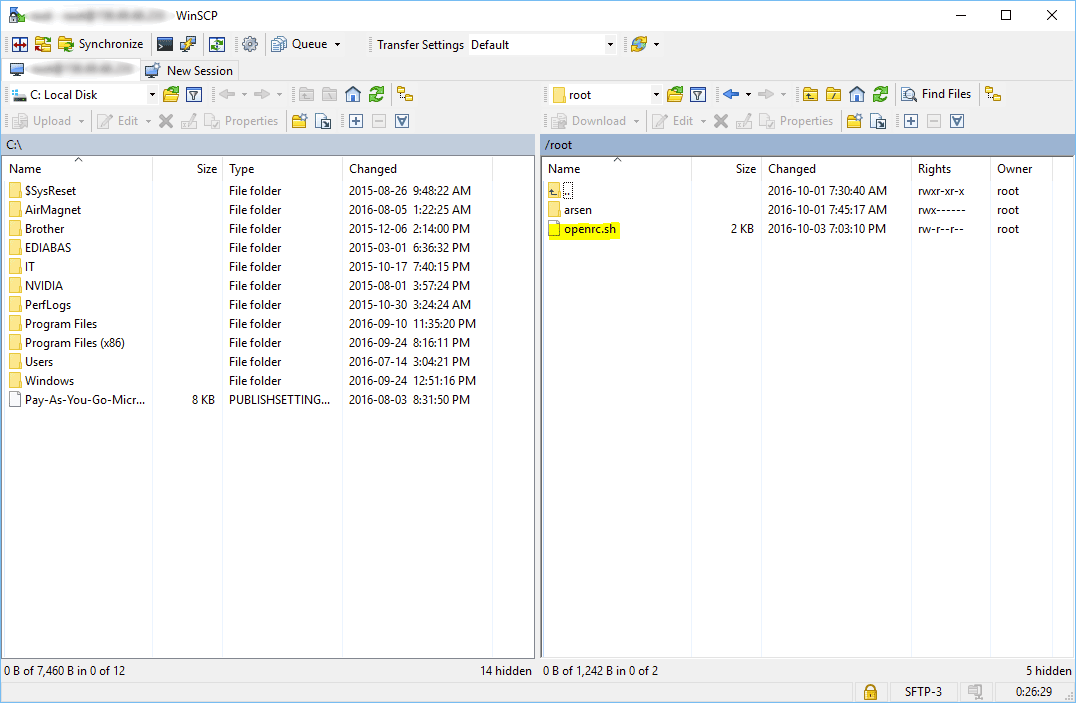
- Now fire up an SCP client like WinSCP or similar and connect to the VPS you would like to modify
- Upload the openrc.sh file to the /root directory on your server
- Connect to the server you just uploaded the file to via SSH using a client like PuTTY or OpenSSH
- On same server, run the following command:
apt-get install python-glanceclient python-novaclient -y
- List the available networks:
admin@serveur-1:~$ nova net-list

+--------------------------------------+-------------------+------+
| ID | Label | CIDR |
+--------------------------------------+-------------------+------+
| 8d3e91fd-xxxx-xxxx-xxxx-4252de201489 | Ext-Net | None |
| b19cb941-xxxx-xxxx-xxxx-581e8e7e4f54 | private_network_1 | None |
+--------------------------------------+-------------------+------+
- With the OpenStack APIs, you can add the private network interface to an existing instance
admin@serveur-1:~$ nova interface-attach --net-id b19cb941-xxxx-xxxx-xxxx-581e8e7e4f54 Instance1
admin@serveur-1:~$ nova list
+--------------------------------------+-------------------+--------+------------+-------------+--------------------------------------------------------+
| ID | Name | Status | Task State | Power State | Networks |
+--------------------------------------+-------------------+--------+------------+-------------+--------------------------------------------------------+
| 0952355f-cc8b-45b7-b011-d20415adc9f5 | Instance1 | ACTIVE | - | Running | Ext-Net=149.xxx.xxx.83; private_network_1=192.168.0.6 |
| 0b4be30f-b21f-4cba-a51b-c2024ab20ae8 | test_vrack | ACTIVE | - | Running | Ext-Net=149.xxx.xxx.48; private_network_1=192.168.0.5 |
+--------------------------------------+-------------------+--------+------------+-------------+--------------------------------------------------------+


Configuring the network interface
You can check that your 2 interfaces are on your instance using the following command:
root@test-vrack:~$ ip addr list
You will normally see three network interfaces:
- lo: Loopback
- eth0: your public interface
- eth1: your private interface
You then just have to configure your private IP:
root@test-vrack:~$ ip addr add 192.168.0.5/16 dev eth1
And then enable your network interface:
root@test-vrack:~$ ip link set eth1 up