
Setting up your Office 365 email to work on your iPhone or iPad is quite easy. Following these steps to set up your email address:
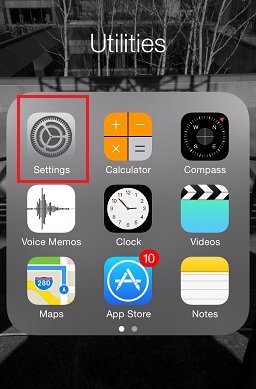
- From the home screen, touch the Settings icon.
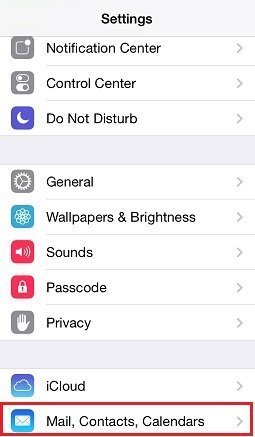
- On the Settings screen, scroll down and touch Mail, Contact, Calendars.
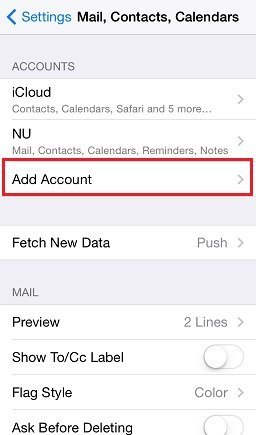
- Touch Add Account to add a new account.
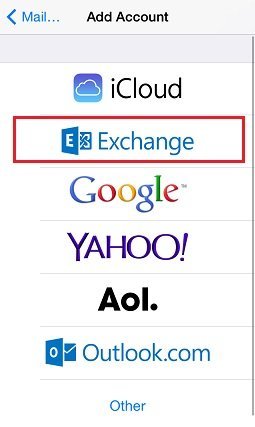
- Next, touch the Exchange icon.
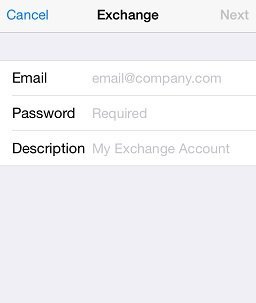
- Fill out the following information on the Exchange configuration screen then touch Next.
- Email: Your full email address
- Password: Your password
- Description: Any description you want
- In most cases, your email will be automatically configured. Sometimes, you may see a message that will say Unable to Verify Certificate or similar. In this case, click Accept and proceed to the next page.
- Once the second Exchange configuration screen appears, enter the following information:
- Email: Full email address
- Server: outlook.office365.com
- Domain: [blank]
- Username: Full email address
- Password: Your password

When finished filling that all in, touch Done
- If everything was entered correctly, you should see the final configuration screen. By default, the iPhone will sync your Mail, Contacts, Calendars and Reminders. If you wish to switch any of these off before starting the first sync, switch off the sliders. Otherwise, just touch Done to finish setting up the account.

Congratulations, your Office 365 email is now successfully configured on your iPhone! Your email should begin synchronizing shortly.
Comments (0)